
If you’re looking for a quick and easy craft project suitable for kids, look no further than this inexpensive and easy pouch/purse. You can teach your child about sewing right from the easiest task. Not only is sewing easy, but it’s a lot of fun, suitable for loads of creativity, and it’s also easy on the pocketbook.
You can also use this project as one for your child to make for themselves, but it is also a great idea for birthday party guests to make themselves. The costs should be less than $10 for up to 12 kids.
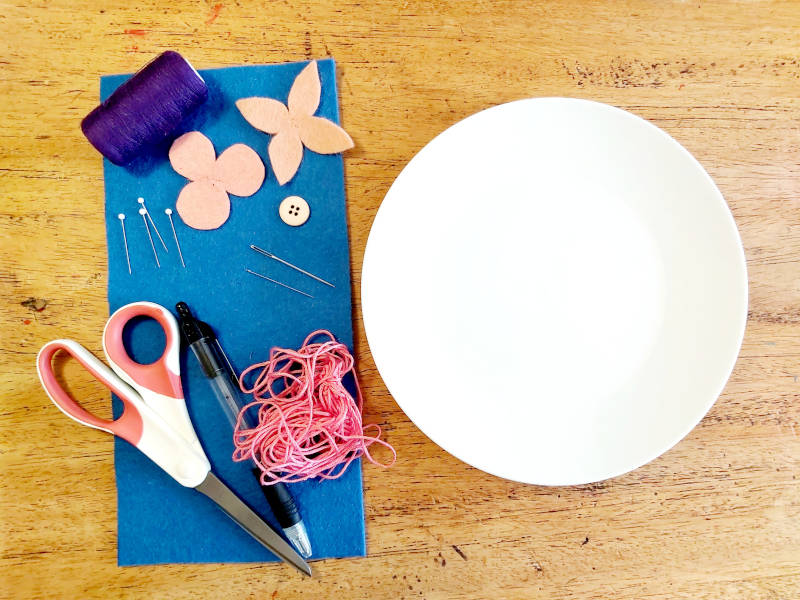
What you’ll need:
- Felt (optionally two colors)
- Thick thread (colored)
- Thin thread (colored)
- Scissors
- Pen
- Small plate
- 4 x pins
- Large needle
- Small needle
- Button
#1 Choose the felt fabric to make the body
Craft Felt is made of polyester and is available in squares or by the yard. The squares may be convenient but are pretty expensive compared to the yard-long alternatives. One square will make one pocketbook, but a yard will make a dozen.
The actual felt is made from wool and is not washable. It’s also quite expensive. If you want something sturdier than craft felt, then go for the upgrade. There is a type of felt called Eco-fi made from post-consumer recycled plastic bottles. Many people like that feature, but you should verify that claim on the end of the fabric bolt or by the internet description. Also, there is wool/polyester blended felts.
If you want to make different colored bags as a larger project, buy one-quarter long cuts of your color choices of 72”-wide felt.
#2 Plan your cuts
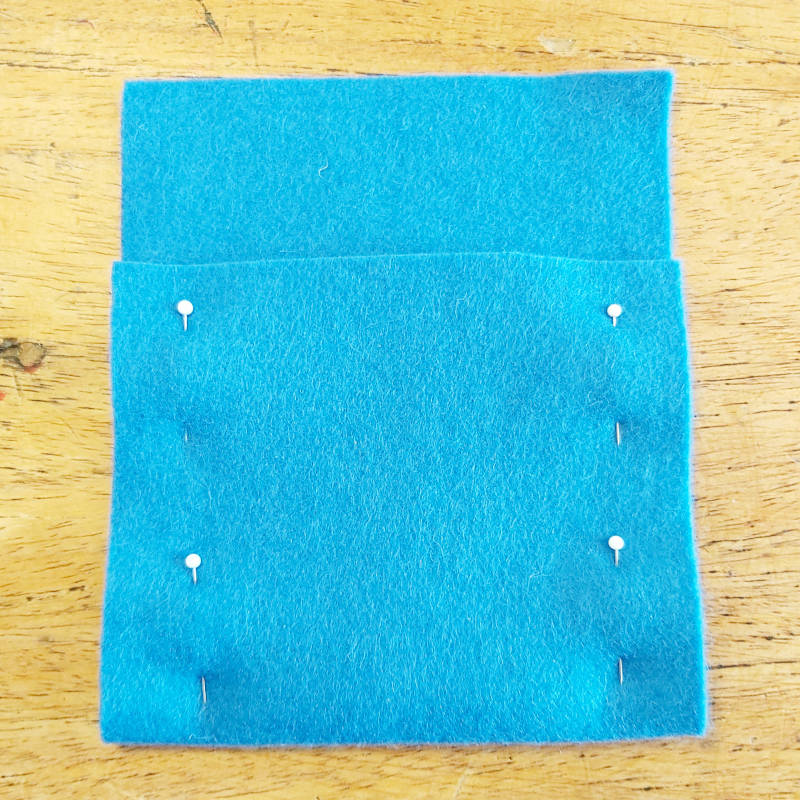
If you are using a pre-cut felt square, fold the narrow edge up to within an inch of the top edge. So, if you have a 9 x 12-inch piece, then fold it up along the length, so the total size measures 9 x 11 inches with a 1-inch single flap layer at the top.
If you are using a 72”-wide piece, you can get six 9-inch wide for every quarter yard. Just use the inch markings on your cutting mat, or use the disappearing ink marker and a yardstick or ruler to lightly mark your cutting lines.
Scissors or, better if you have it, a Rotary Cutter with a mat work well to cut the squares.
For the flap, take a small dessert plate and fit it over the top flap. Cut along the plate’s edge to make a rounded flap.
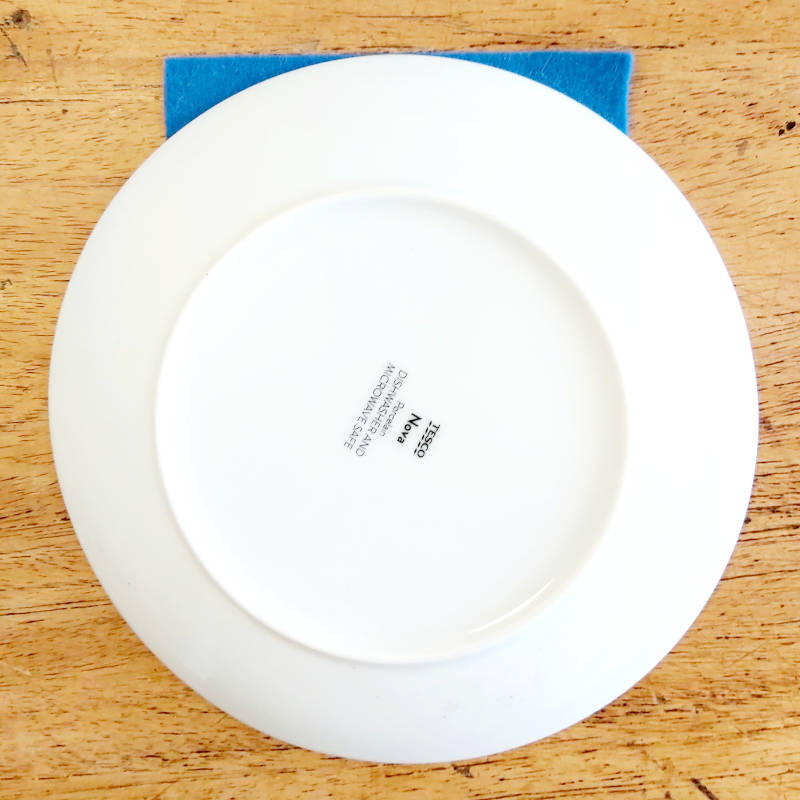
If you wish, you can use pinking shears to give the flap a bit more flair.
#3 Mark the fabric
A Disappearing Ink Pen is always a must-have for crafters and sewists. You will want to mark the felt for button and decoration placement, as well as for fold lines. This type of marker will disappear on its own without washing within 72 hours or so. Mark lightly and test first.
#4 Get ready to sew
Thread is an important consideration. You won’t be able to use regular sewing thread. The best choice is either 2 or 3 strands of embroidery thread (they come with six strands) or Perle cotton, which can be used as one strand. It will work better for the design if the thread does not match the felt but is a good contrasting color. Experiment with different colors suitable for both boys and girls and which are age-appropriate.
The proper Needle is crucial. The eye must be large enough to easily hold the thicker threads, but the needlepoint must be sharp. Do not buy plastic yarn needles or steel needles that have blunt edges. A tapestry needle should work fine in larger sizes. These are usually sold as a small collection of varied sizes.
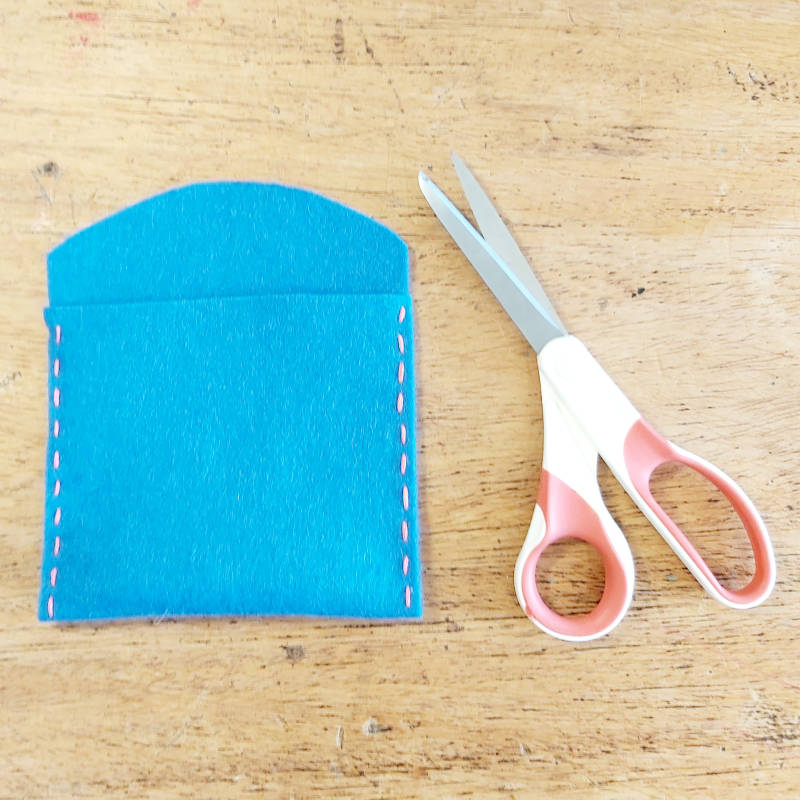
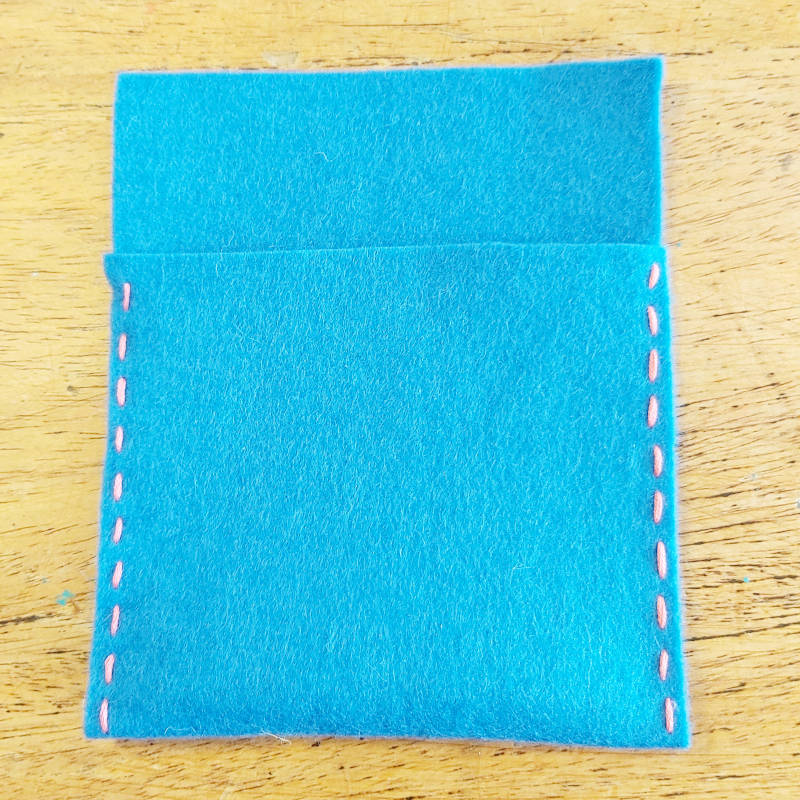
#5 Stitch both sides together using a running stitch
Pull the thread through the eye of the needle, with about two or three inches hanging loose.
Tie a knot in the long section of the thread. (Video tut here.)
Put the needle close to the inside of one bottom edge of one side so that the knot is inside the bag. Pull through until the knot lays against the fabric.

Push the needle through about one-eighth or one-quarter of an inch further up the side.
Continue this stitching until you reach the top of the seam where the flap begins.
Work a knot into the seam’s end by pulling a loop in place and putting the thread through the loop. Repeat and cut the thread.
Repeat the above steps for the second edge.
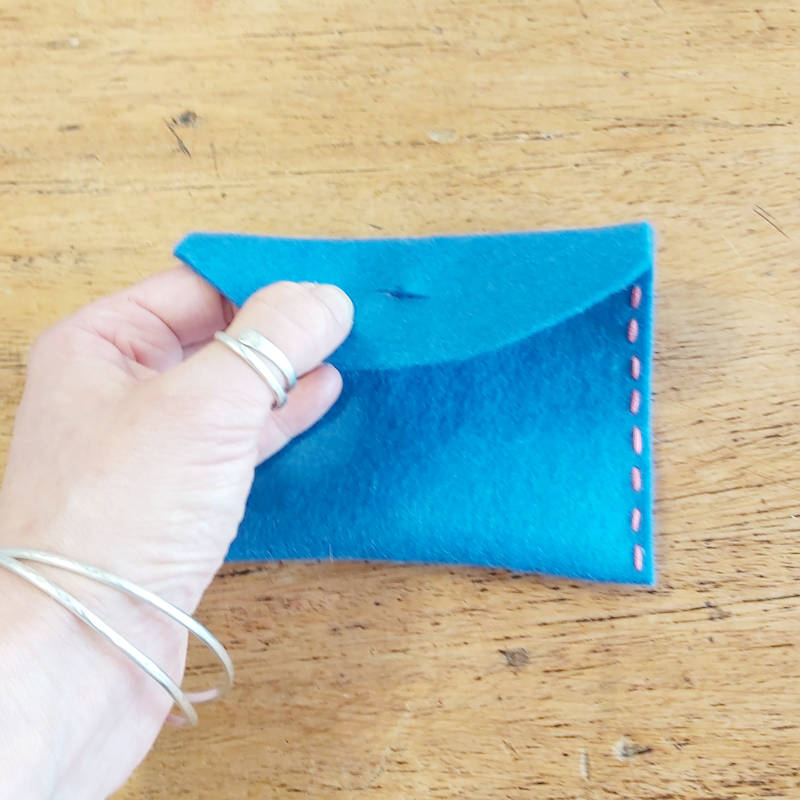
#6 Mark and Cut the buttonhole
In the center of the flap, lightly mark the space needed for the button. You will find the proper measurement by looking at the button’s card or measuring its diameter with a ruler.
With a sharp pair of small scissors, fold the marked area half lengthwise. Cut the buttonhole marking. This buttonhole will not need any stitching.
#7 Sew the button

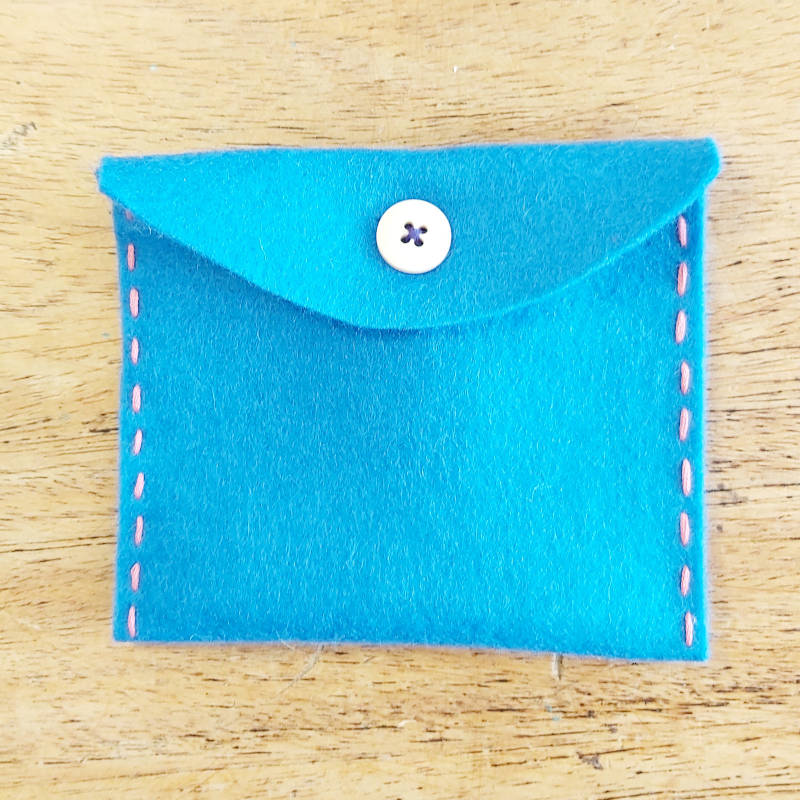
Sew the button, marking the place by folding over the flap, making a dot in the middle, and sewing the center of the button. Instead of a regular button, perhaps one shaped like an acorn or pine cone would be fun.
#8 Decorate the bag
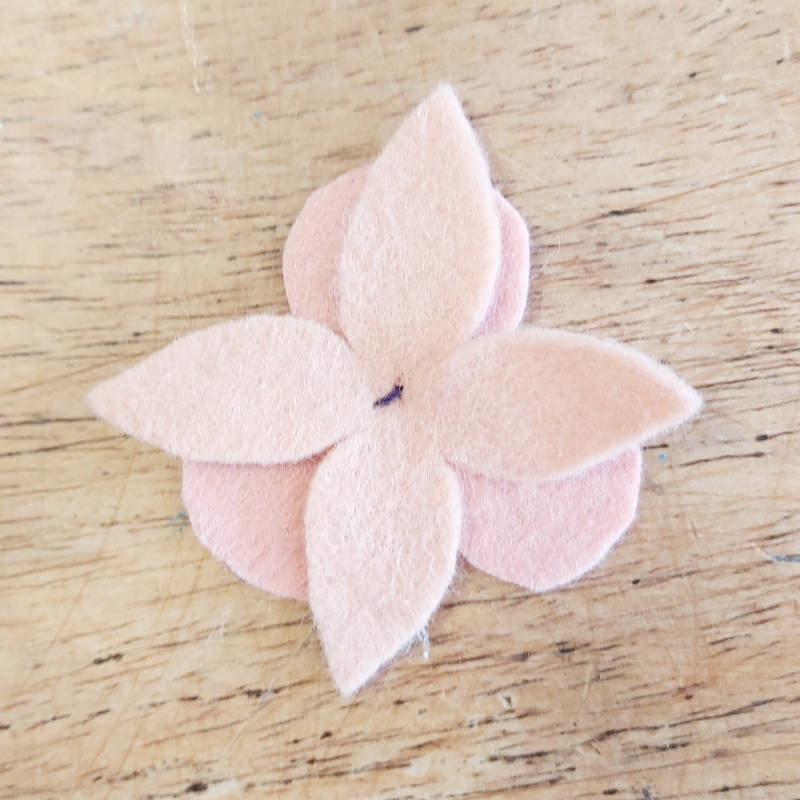
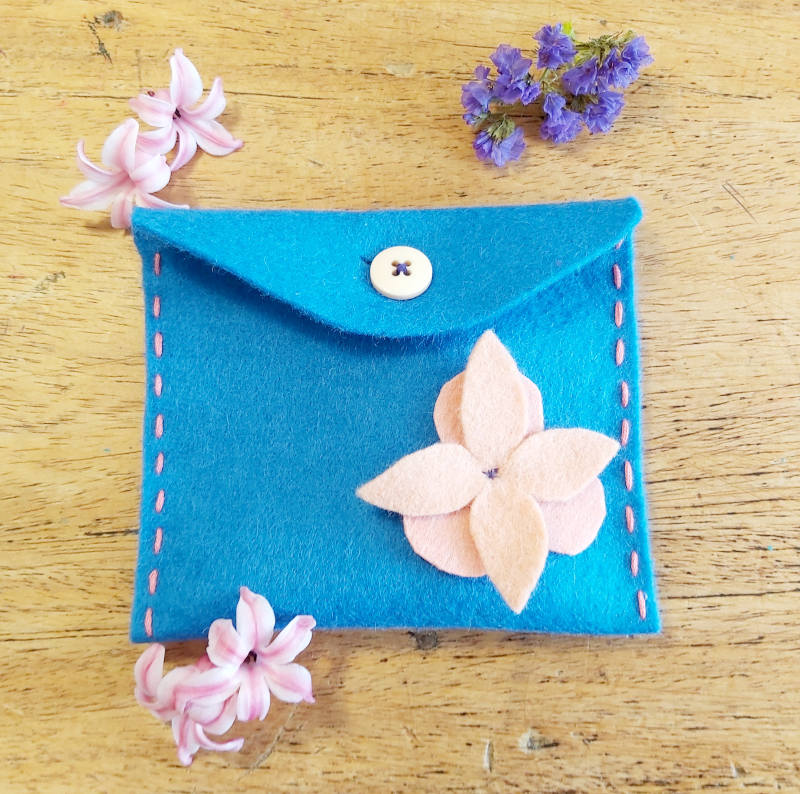
You can use felt flowers as in this example, or sewing decorations or patches onto the lower front. Even some cross-stitching might be just the thing.
Et, Voila!
You have created a beautiful felt purse or small bag.
BONUS: For added fun…
You might want to teach the kids how to braid some of the thread used in the project to make a shoulder strap. Elsewise, you might want to sew a felt loop onto the back of the pouch’s top with its own small button. That way, kids can have the bag fastened over a belt to wear while hiking or playing.